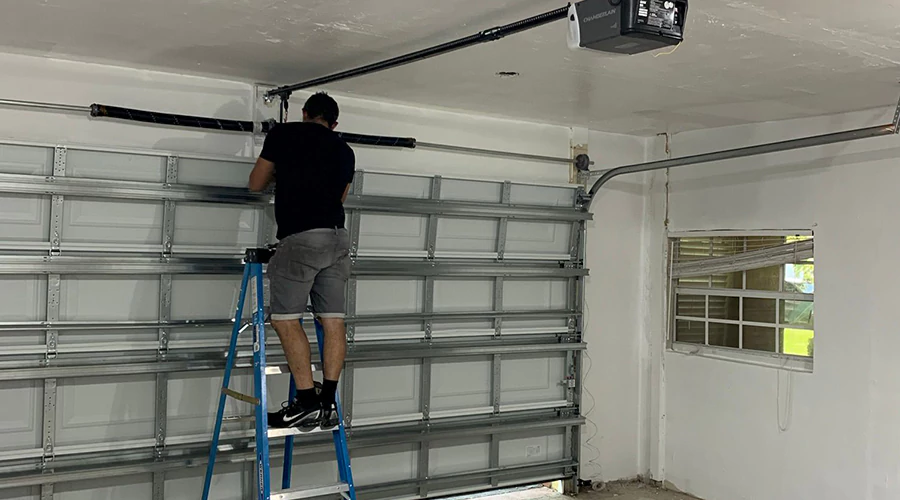
A broken spring might be the issue if your garage door isn’t working correctly. Don’t worry—this guide will walk you through everything step by step, so you’re not left guessing. With patience and attention to detail, your garage door will be back in shape quickly. Let’s dive in!
Tools You Will Need
Before getting started, make sure you have everything ready. Trust me, running around looking for tools mid-project can be frustrating. Here’s what you’ll need:
- Winding bars (specific to garage door springs)
- C-clamps or locking pliers
- Adjustable wrench
- Socket wrench
- Safety goggles (you only get one pair of eyes!)
- Leather gloves (to protect your hands)
- Sturdy ladder
- Garage door lubricant
- Tape measure
Having these tools on hand will make the process smoother and safer.
Step 1: Prepare for the Repair
1 Unplug the garage door opener: The last thing you want is the door moving while you’re working. Disconnect the power source to be safe.
2 Secure the garage door: Clamp the garage door to the tracks using C-clamps or locking pliers. This keeps it steady and prevents accidents.
Tip: Double-check that the clamps are tight. You’ll be applying some force during the repair.
Step 2: Loosen the Tension in the Broken Spring
This step requires extra care since garage door springs are tightly wound and can cause injury if mishandled.
1. Position the ladder to the side of the spring assembly—never directly in front.
2. Insert the winding bar: Insert the bar into one of the holes on the winding cone of the broken spring
3. Loosen the set screws: With a wrench, loosen the set screws while firmly holding the winding bar. Insert a second winding bar into another hole to control the tension. Release the tension 1/4 turn at a time.
Safety Tip: Always keep one winding bar in the cone at all times to maintain control.
Step 3: Remove the Old Spring
Now that the tension is released, it’s time to remove the spring.
1. Unwind completely: Keep repeating the unwinding process until the spring no longer has any tension.
2. Detach the hardware: Remove the bolts and nuts securing the spring to the center bracket.
3. Slide the spring off: Carefully slide the spring off the torsion bar. Take your time; there’s no need to rush.
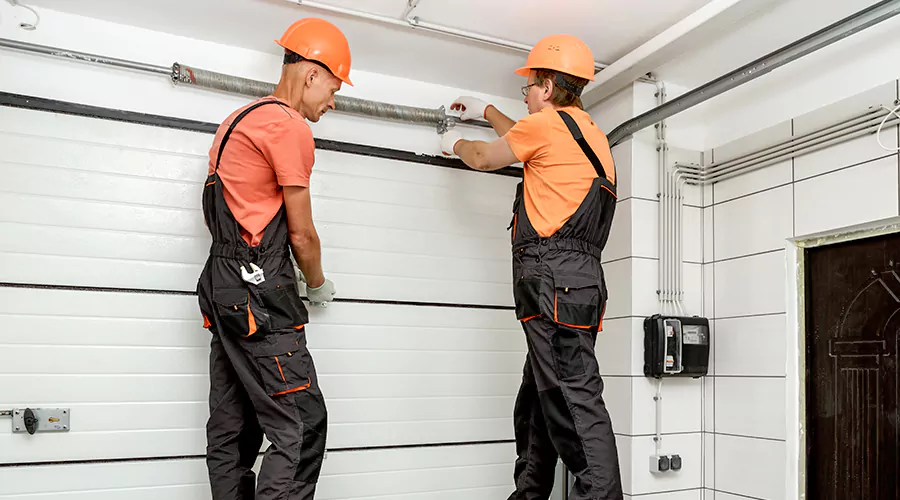
Step 4: Measure and Order Replacement Springs
1. Measure the spring: Use a tape measure to find the length, inside diameter, and wire size (count 10 coils and divide the length by 10 for accuracy).
2. Order the correct replacement: Match the specifications exactly. Always buy both left-hand and right-hand springs for balance.
Pro Tip: Investing in high-cycle springs can extend the life of your repair and save you money in the long run.
Step 5: Install the New Springs
Slide the Left Spring onto the Tube and Add the Cable Drum
1. Position the spring: Put the new left spring (the one with the end facing up and to the left) onto the torsion tube, ensuring the stationary cone faces the center bracket.
2. Replace the cable drum: Slide the cable drum onto the torsion tube and insert the torsion bar into the left bearing bracket.
Install the Center Bearing and Right Spring, Then Secure the Cones
1. Slide components into place: Push the torsion bar to the left, add the center bearing, and slide the right spring onto the bar.
2. Secure the cones: Press the bearing into the stationary cone on the right spring. Using the bolts and nuts you removed earlier, attach both stationary cones to the center bracket.
3. Remove locking pliers or clamps: Detach these from the center bracket once everything is securely installed.
Thread the Cables and Tighten the Drums
1. Run the lift cables: Thread the lift cable between the roller and the doorjamb. Slip the cable stop through the cable slot on the drum.
2. Secure the drums: Attach locking pliers to the torsion tube to hold it in place. Rotate the drum to wind the cable into the grooves, then tighten the set screws. Repeat this process on the other side, ensuring even tension on both sides.
Step 6: Wind the New Springs
1. Insert winding bars: Place one winding bar into the winding cone and wind the spring 1/4 turn at a time. Move the bar to new holes in the cone as needed.
2. Stretch the spring slightly: Tap the winding bar with a hammer to stretch the spring about 1/4 inch away from the center.
3. Follow recommendations: Generally, you’ll need 30 quarter-turns for a 7-foot door or 36 for an 8-foot door. Overwinding can cause the spring to break, so follow the supplier’s instructions.
Step 7: Final Adjustments and Testing
1. Tighten the set screws: Once the spring is fully wound, tighten the set screws against the torsion tube. Avoid overtightening to prevent damage.
2. Lubricate the springs: To protect the door, slide a piece of cardboard or a grocery bag behind the spring. Spray garage door lubricant on the spring and wipe off any excess.
3. Remove clamps: Remove any clamps or pliers holding the door or torsion bar.
4. Test the door: Lift the door manually to about 3 feet and let go. If it stays in place, the job is done. If not, add a 1/4 turn to each spring and retest.
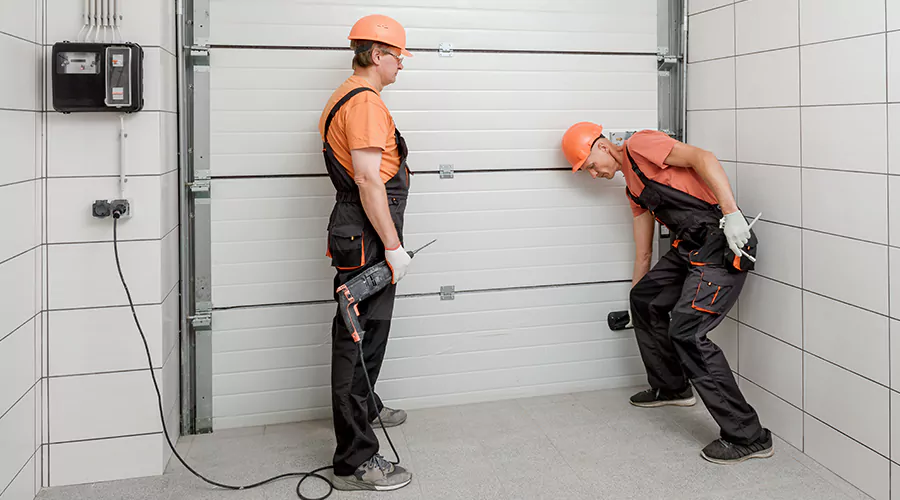
Safety Reminders
- Use a sturdy ladder on even the ground
- If you’re unsure about any step, it’s best to call a professional
When to Call a Professional
Let’s be real: garage door spring repair is no small task. If you don’t feel confident or don’t have the right tools, contact a professional. Search for "garage door spring repair near me" to find someone you trust. A pro can save you time and ensure the job is done safely.
Final Thought
By following these steps, your garage door will work like new. Regular maintenance, such as lubrication and annual inspections, can prevent future problems and keep your door running smoothly for years to come.


