If you are tired of opening your garage door by hand, installing a garage door opener will save you from the hustle of opening and closing garage door manually. Garage door opener is an electric device that helps to upgrade the accessibility and security of your garage. Installing a garage door opener will take you a few hours to complete without any professional help. Having a garage door opener will make opening and closing your garage door every day so much quicker and easier.
Types of Garage Door Opener
There are two types of Garage Door Opener:
Belt Drive Garage Door Opener
Belt drive garage door openers use a belt to move the garage door. They are quieter than other garage door openers. Belt drive garage door openers work on various doors, including those that are light, heavy, multi-panel, and one-piece. However, these openers expensive, high maintenance, and have a shorter lifespan than other openers.
Chain Drive Garage Door Opener
A chain drive garage door opener is best for insulated, wooden, and heavy doors. It is durable and strong and fits most garage doors. These openers are typically the most budget friendly option available.
Screw Drive Garage Door Opener
Screw drive garage door opener is quiet, moderately priced, and low maintenance. On the downside, it is noisy and not suitable for heavy doors. Screw drive garage door opener requires ongoing lubrication and may experience issues with fluctuating temperatures.
Direct Drive Garage Door Opener
Direct drive garage openers contain a gear wheel that moves a motored trolley along a fixed chain. It is ideal for tall garage doors and it is a low-maintenance option. Direct drive garage door opener is more expensive as compared to other garage door openers.
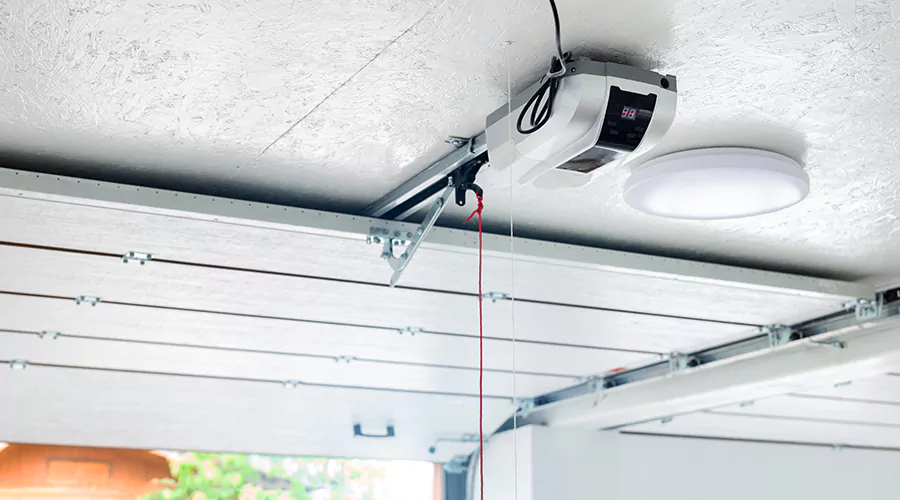
Tools and Materials Needed for Garage Door Opener Installation
Some people choose to reduce their garage door opener installation cost by doing their own installation. The cost to install garage door opener;can be expensive and it can be a DIY job, but you must prepare yourself along with tools and materials to ensure safe operation.
Garage door installation typically requires the following tools:
- Electric drill and bits
- Adjustable wrench
- Socket wrench set
- Screwdrivers (slotted and Phillips)
- Hammer
- Safety goggles
- Gloves
- Tarp
Step-by-Step Installation Process
Prepare the Garage Door
Before installing the opener, check that your garage door is in good working condition. Manually open and close the door to ensure it moves smoothly. If it feels heavy or uneven, address this issue before proceeding. Lubricate the springs and rollers to reduce friction.
Install the Opener’s Support Bracket
Secure the opener to the ceiling using the provided support bracket. Use a stud finder to identify the joist for mounting. Mark the mounting holes, then drill pilot holes before securing the bracket with screws or bolts. Ensure it’s firmly attached to handle the weight of the opener.
Install Garage Door Motor
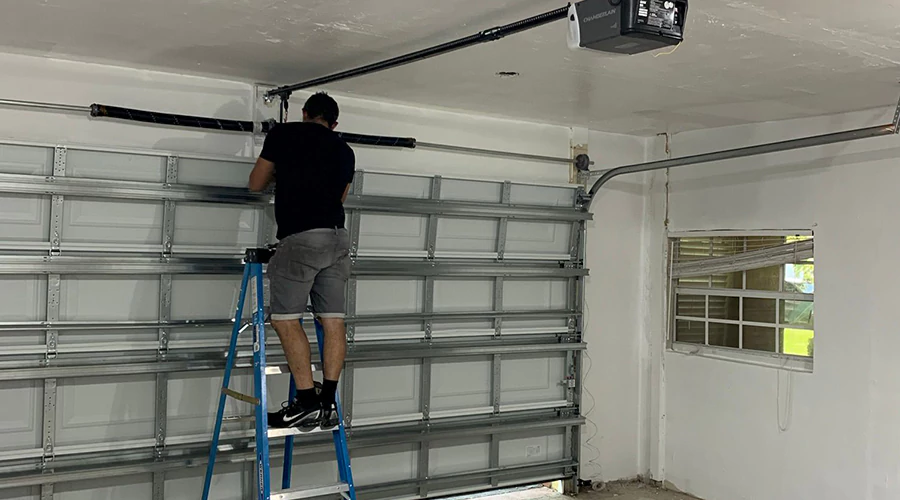
Measure the distance between the garage door and the rail and the planned spot of the motor unit on the garage ceiling. Carefully install ceiling joints perpendicular to the garage door and attach the ceiling braces it parallelly to the garage door. Attach steel supports to the braces using screws.
Mount the Header Bracket
The mounting bracket attaches the carriage tube to the wall above the door. It is usually in the center of the wall, but positioning can vary. Manually lift the garage door to its highest point. Mark the door at this height, then make another mark two inches above it.
Line up the header bracket with the top line and attach it to the wall with the recommended fasteners.
Attach the free end of the carriage tube to the header bracket. Once the carriage tube and header bracket are attached, raise the power unit and set it on top of a ladder close to the ceiling.
Mount the Opener
Position the assembled opener on the support bracket. Secure it using the hardware included in the kit. Ensure the motor is centered and aligned with the door's path. If the alignment is off, the opener may not function correctly or could cause unnecessary wear on the components.
Attach the Door Arm
Connect the door arm to the trolley and the garage door. Ensure the arm is securely fastened to allow for smooth operation. Test the connection manually by moving the door up and down.
Install the Safety Sensors
Modern garage door openers include safety sensors that prevent the door from closing if there’s an obstruction. Position the sensors on each side of the door, a few inches above the floor. Secure them using brackets or screws. Align the sensors so their infrared beams are directly facing each other. Most units have indicator lights to signal proper alignment.
Test the Opener
Plug in the motor unit and turn on the power. Test the opener using the remote control and wall-mounted panel. Adjust the settings for the open and close limits if necessary.
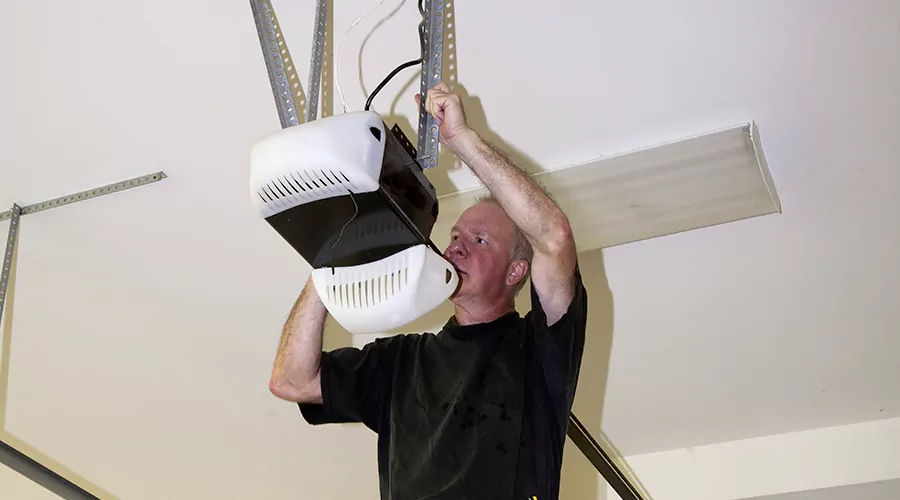
Final Adjustments and Maintenance Tips
After successful testing tighten any loose screws or bolts. Secure wires and cords to prevent them from hanging loosely. Lubricate moving parts like chains or belts for smoother operation.
Regular maintenance, such as cleaning the sensors and checking the opener’s alignment, will extend its lifespan.
Many people choose to DIY their Garage Door Opener Repair to reduce installation cost. Installing a garage door opener is not hard to master, but if you feel unconfident, you may prefer to hire a trained expert from Gate Repair Pro. A professional will ensure your installation runs safely and smoothly and may save you money in the long run.


