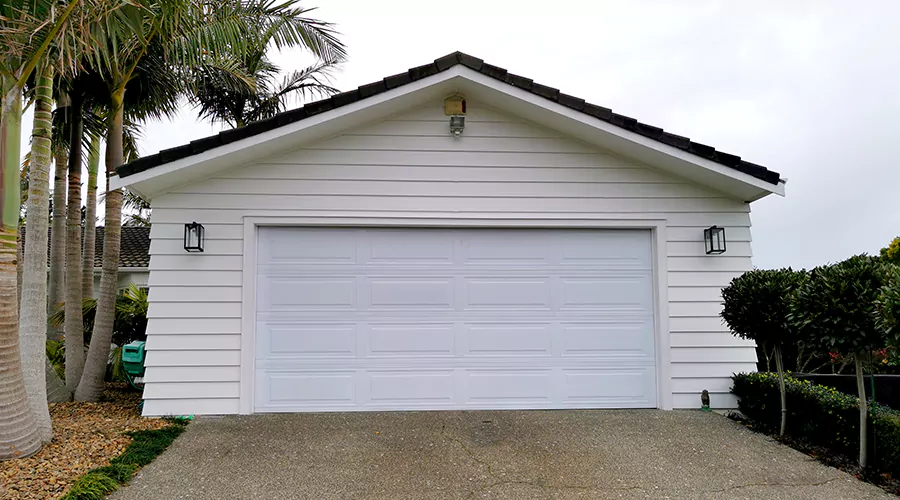
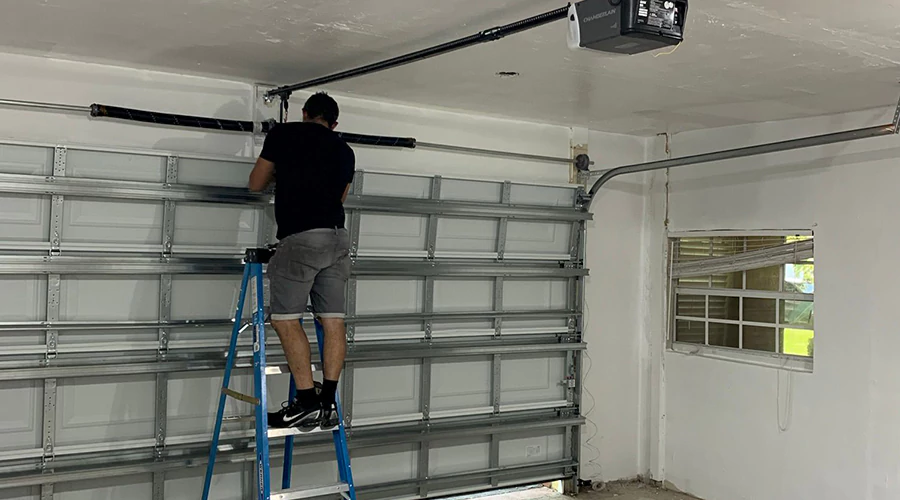
Insulating your garage door is a practical way to improve energy efficiency, regulate temperature, and reduce noise. By preventing heat loss and reducing drafts, insulation can lower your energy consumption. Insulating garage door helps maintain a comfortable environment year-round. This guide will take you through the steps to effectively insulate your garage door.
Why Insulate a Garage Door?
This is a cost effective way to start enjoying your garage space. Insulation minimizes heat loss in winter and keeps your garage cooler in summer, reducing energy bills. It helps maintain a stable temperature as well as noise reduction. Insulation adds strength to the door, helping it withstand impacts and weathering. With garage door insulation, you will benefit from a space that is comfortable all year round.
Materials Needed for Garage Door Insulation
- Before you start, gather the necessary tools and materials:
- Garage door insulation kit (commonly includes pre-cut foam panels or reflective insulation)
- Measuring tape
- Utility knife or scissors
- Straightedge or ruler
- Double-sided tape or adhesive
- Insulation tape or weatherstripping (optional)
- Gloves and safety goggles
Types of Insulation
Choose the insulation type that best suits your needs:
Foam Board Insulation: offers excellent R-value (thermal resistance) and is lightweight.
Reflective Insulation: features a reflective surface that deflects radiant heat, ideal for warm climates.
Fiberglass Insulation: provides effective thermal resistance but requires a protective cover to prevent irritation.
Clean the Garage Door
Your garage door should be completely clean. It should be free from grease, dirt and debris. You should first use a brush to wipe away any of the loose dirt. Follow with a damp cloth and clean until there is no dirt. Allow the door to dry prior to Garage Door Installation.
Measure the Garage Door
Measure the Garage Door, both width and height and note these dimensions. Record the measurements to ensure precise cutting of the insulation material.
Cut the Insulation to Fit
Use the Multifoil Insulation Scissors and cut the insulation to size so that the first run covers the entire width. Mark the measurements with a pencil or marker. Use a straightedge and a utility knife to cut the insulation precisely.
Install the Insulation
For Foam Board or Reflective Insulation
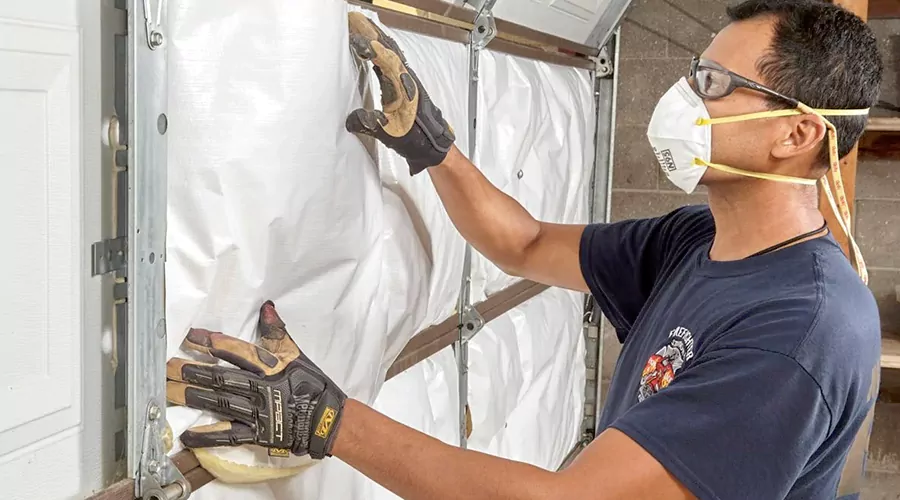
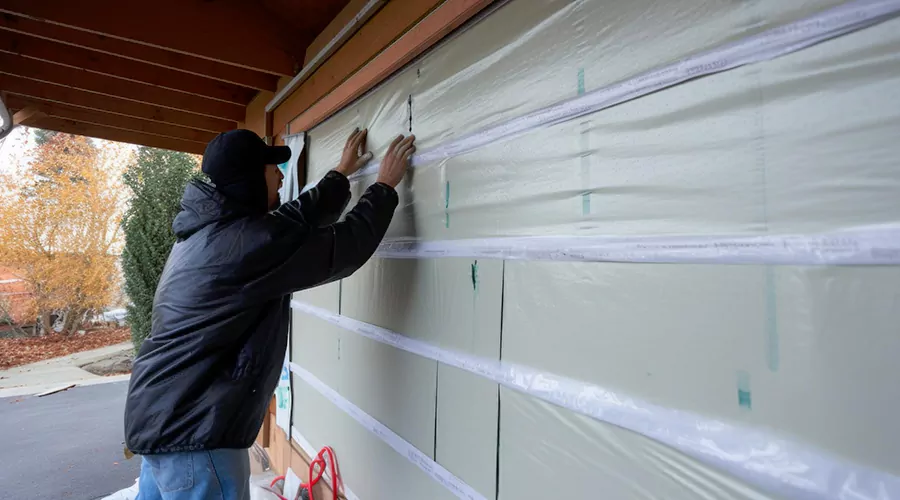
Insert the cut pieces into the garage door panels. The insulation should fit securely without any gaps. For a better hold, use double-sided tape or adhesive to attach the insulation to the panels. Press firmly to paste insulation properly.
For Fiberglass Insulation
Cut fiberglass insulation to fit each panel and place it inside. Secure the insulation with a plastic or vinyl sheet to prevent fibers from becoming airborne.
Seal Gaps and Edges
Once the insulation is in place, seal any gaps or edges by applying weatherstripping or insulation tape around the edges of the panels to prevent air leaks.
Read: How to install garage door opener
Benefits of a Well-Insulated Garage Door
A properly insulated garage door can reduce heating and cooling costs by minimizing energy loss. It also provides a more comfortable environment for using the garage as a workspace and protects stored items from temperature extremes. Insulation reduces external noise, creating a quieter garage space.
Maintenance Tips for Insulated Garage Doors
- Regularly inspect the insulation for wear or damage and replace it if needed.
- Clean the door's surface periodically to keep the insulation adhesive secure.
- Check the door's mechanical parts, like springs and rollers, to ensure smooth operation with the added weight of insulation.
By following this guide by Gate Repair Pro, you can easily transform your garage into a more functional and pleasant space.


